Bikepacking is like a combination between riding a bike and hiking/backpacking. As a year-long commuter I’ve been riding my bike for a while and have lots of equipment to deal with various weather conditions, carry stuff, and perform repairs. Similarly, as someone that goes on a couple of hiking trips every year I’ve got all the needed gear for that as well. Because this trip is a bit of a test run I wanted to buy as little new stuff as possible and make do with what I already had. Then after using my existing gear on the trip I could see what the actual pain points were and then make purchases accordingly. I figured this would be better than just buying a bunch of stuff and then finding out later that they didn’t offer any benefit over what I already had.
This is the part where you normally see pictures of a bike along with all the gear the person plans on using on their trip, maybe with a link to LighterPack or something similar. I think there are a lot of factors at play when people post these gear lists and pictures ahead of time. The first one is a bit of fear of the unknown, people are afraid they’ve forgotten something important or haven’t considered some risk. By putting your list out there and getting comments about it ahead of time someone can come and say “hey, you should bring X with you because that’s saved me a couple of times” or you could get comments that confirm that what you’ve packed is comprehensive enough and you’ll be fine. There’s a backpacking adage “don’t pack your fears” which I try to be mindful of, take what you think you’ll need but don’t start inventing scenarios that need you to bring extra things. The second one is excitement about the coming trip. It’s fun to plan about what you’ll need on your trip and these lists and pictures are a way to share that excitement ahead of the trip and also to get people more excited about the trip they’ll be taking. Let’s face it the first part of a lot of trips is getting away from “civilization” and it can be hard to feel like you’re going on an adventure as you’re riding through subdivisions and exurbs for a couple of hours. The third one is the consumerism that is the air we breathe on the internet. We’re bombarded by ads to buy things and then there’s sponsored content or influencers that promote things in a more “organic” manner. During races like the Great Divide bikepacking.com will put out posts about the rigs and gear various participants use. Sure it’s just a survey of what people are using but it is also a way to highlight various bike and gear companies, many of whom are advertisers and sponsors of the site already. Sometimes I’ll wonder if someone all kitted out from one brand has worked out some kind of sponsorship deal with them and their post is them working on their end of the deal. I didn’t take any pictures of my stuff, just feels weird to me to take pictures of outdoor gear at home not being used. On my biking trip in high school I really didn’t have any good equipment and made it just fine so while I get that having better gear could make the trip better I wasn’t particularly worried that I’d have problems if I made do with what I had, especially as what I had was already pretty good.
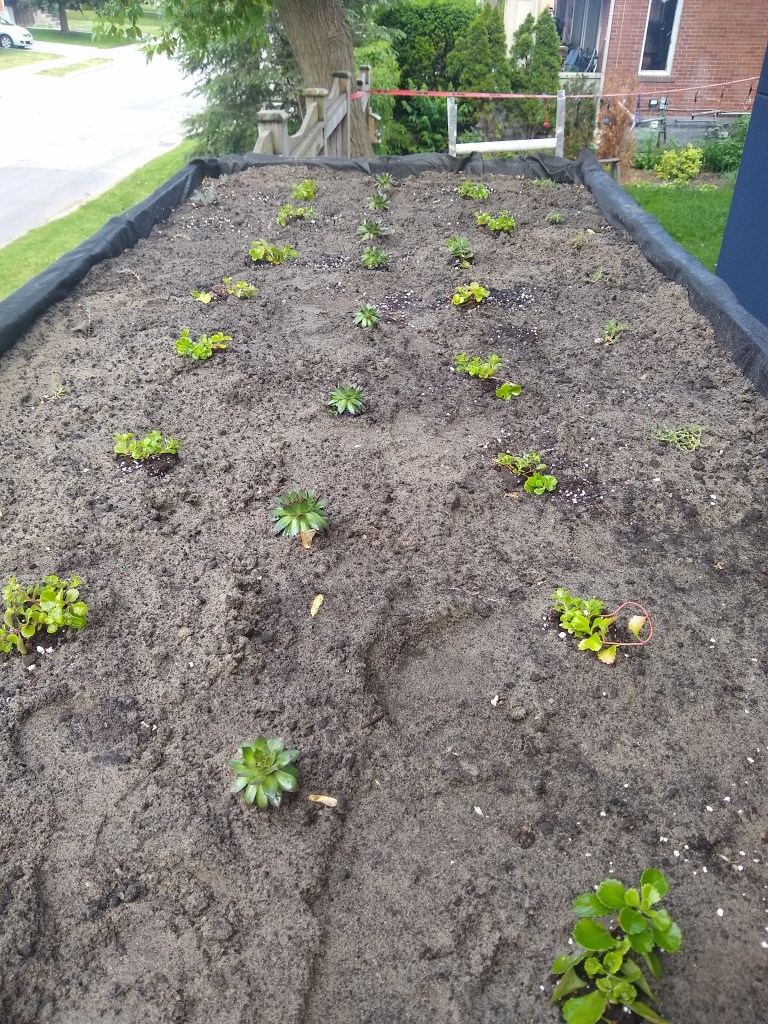
So here’s all my stuff.
Stuff already attached to my bike
- Rear rack. When I bought my bike I asked them to put in a rack and this is what they put on. I know from years of experience that the rack can handle quite a lot of weight without issue so I’m not worried about anything happening to it.
- Woho seat bag stabilizer. I don’t have a seat bag but like the idea of being able to attach a water bottle cage to it if I end up putting a frame pack in the main triangle. Presently I have my rear light on it because it is more visible there than on my seatpost.
- 3 bottle cages. One on the seat tube, one on the top of the down tube, and one on the bottom of the down tube. I use the two in the main triangle for water bottles and the one at the bottom holds my everyday tire trouble kit. Even though they’re all red metal cages they’re all a bit different from each other. When I bought the 3rd one I thought it would be the same as my 2nd one but it didn’t turn out that way. It isn’t something one would notice as I’m riding by but if you look close enough you’ll notice it.
- Everyday tire trouble kit, this is a small cylindrical bag that fits in a bottle cage. In mine I’ve got a 2oz bottle of sealant, some tire patches (not tube patches, but tire patches), tire levers, chain pliers, quick links, a schrader to presta adapter, tubeless tire reamer, and plugs/bacon strips. On my commute if I get any tire trouble that can’t be solved by pumping more air into my tire I’ll just take the bus and deal with the repairs at home, but if I’m going on a fun ride somewhere without public transit I like knowing that I’ll be able to take care of a lot of minor issues.
- Mirror on my left handlebar.
- Bell on my right handlebar.
- Quad Lock phone mount on my stem.
- Bicycle pump on my front fork.
- Front light on my front fork.
- Front and rear SKS Speedrocker fenders.
This is all stuff that is with me every day. When I do the P2A (Paris to Ancaster) race or other rides where it will be really muddy I’ll remove the rack and fenders. They’re great with water and small amounts of mud but at a certain point they just become more things for the mud to get stuck in and become more trouble than anything else. I expect to be a mess by the end of those rides anyway.
Bike bags I already have
- Pair of Ortlieb Backroller panniers. This is the 3rd set of panniers I own. The first two were more affordable MEC branded ones that fell apart after a couple of years use. After the second set died I decided I’d just bite the bullet and get the Ortliebs because by all accounts they are bombproof. After almost 4 years of daily use I’ll agree that they are in fact bombproof. The panniers are quite large and I planned on carrying almost everything in here.
- Mont-Bell top tube bag. This is a small bag my in-laws sent me for my birthday. I’ll generally put a spare battery, wallet, and snacks in this if I’m going on a long ride. I don’t bother with it when I’m commuting and will just put stuff in the panniers instead.
- Small handlebar bag. I use this mainly when I’m doing races as it holds more snacks than the top tube bag.
Camping gear I already have
- 1 person Naturehike tent. This is kind of cheating because I bought this a year ago in the hopes of going on a bikepacking trip. I’ve used it a couple of times on hiking trips so I know it works, even in bad weather.
- Inflatable sleeping pad. I was planning on taking my closed-cell foam one as that is pretty indestructible BUT it is also too big and bulky, even just being strapped to my rack, so the inflatable pad it is.
- Inflatable camping pillow. I used to make do with putting my clothes in a dry bag and using that as a pillow. Brian got me this for my birthday one year and it takes next to no space so I’ve been using it since.
- Swiss Army Knife.
- Camping knife – this thing is super sharp.
Other things I’d be taking
- First Aid kit. I don’t know how to use most of the things in it but hey if I get into trouble and someone finds me maybe they’ll know how to use it to fix me up.
- Bike tools – 2 different multi tools and an adjustable pliers. Between this and the stuff in my everyday kit it’s pretty much everything I use at home for my bike. Anything more than this wouldn’t be of much use to me because I probably wouldn’t know what to do with it.
- Spare tube. My tires are tubeless but I always take a spare tube on longer rides in case I get a cut that won’t seal. This way I can patch the tire, put in a tube and continue on my ride.
- Hydration backpack. 2 water bottles isn’t enough for me, I’ve had situations in the past where I’ve run out of water a fair bit away from my destination and had to tough it out the rest of the way. Not fun. My pack can hold 3L of water so normally I’ll fill that with water and my bottles with sports drink. With 4.5L on me it is highly unlikely I’ll run out of water before making it somewhere I can refill. One other advantage of the hydration pack is that I find it much easier to take sips from its straw than reaching down to get a bottle so I’m more likely to regularly drink water. The pack has space to carry things in it as well, such as my camera and spare tube.
- Packable bags, for carrying groceries. Also, GO won’t let you have stuff attached to a bike when it’s on the bus’ bike carrier so I can take the small bags off and put them in these.
- Bike lock. Because I’d be stopping off at stores and my bike would be out of my sight I brought my lock with me. It is big and heavy but very angle grinder resistant so hopefully no one would be able to steal my bike while I was getting food.
- Two stainless steel water bottles. I probably wouldn’t be cleaning these out very well each day so there’s lots of opportunity for mold to grow in the water bottles. As these are stainless steel with silicone there isn’t a good surface for them to grow on.
Clothes
- 2 jerseys
- 1 cargo bib, 1 bib short
- 1 MTB shorts to go over bibs
- 1 cycling pants
- 1 thin full sleeve shirt
- 1 full sleeve cycling base layer for sleeping in
- 1 pajama pants
- 1 swimming shorts
- 3 pairs socks
- 1 pair sandals
- 1 packable rain jacket
- 2 pairs cycling gloves
- 2 headbands
- 2 pairs cooling arm sleeves
Electonics
- Phone
- Activity watch with GPS navigation
- 4 port USB wall plug
- USB Battery
- Charging cables for phone, watch, and lights
- Camera
What I still had to get
- The big thing I was missing is a sleeping bag. I have one bag rated to -7C and one rated to 0C but nothing appropriate for summer camping where the overnight low is only 15C. I’ve never invested in a good summer bag because my summer camping is usually car camping so taking the extra weight and bulk of a winter bag isn’t much of a problem. Even for bikepacking weight-wise they’d be OK but they just take up too much space. I think long term I’m going to try my hand at making a simple quilt out of Primaloft or some similar fabric. But for this trip given the warm weather I ended up buying a sleeping bag liner and figured that between that and my clothes I’d be warm enough overnight. I’d be able to use the liner to give myself an extra couple of degrees of warmth for my fall and winter trips as well.
- The stuff sack that my tent came with is just about a perfect fit, which means that it takes a lot of careful folding and rolling to fit it in. I don’t want to spend that much time every morning putting my tent away so I needed to get a compression sack I could just put the tent in and then squeeze to take up less space.
- I was planning on taking my camera and putting that in my hydration backpack. I’ve done it before for a race and it works OK. I don’t quite trust the bladder in the pack not to leak so I put my camera in a dry-bag before going in the hydration pack. The only thing is that in order to fit the camera the dry-bag ends up being way bigger than needed so there’s less space to put other things in the backpack. Sadly none of the dry bags that could fit the camera were any smaller. I ended up getting a waterproof toiletry bag that could barely hold the camera.
- Tomoko took my camping towel with her to Japan so I needed to get a replacement. Also a small bag to put my toiletries in.
A good thing about bikepacking as opposed to hiking is that it is hard not to be near shops or restaurants over the course of the day. So I could take a stove, cookware, and dehydrated food but I could also just buy stuff along the way and not have to deal with the added bulk and weight of carrying food-related gear all the time. If I was going somewhere more remote like Northern Ontario it would likely be a different story but the Bruce Peninsula is dotted with small towns although there would be some days where I’d need to buy food and keep it for my next meal as there would be nothing nearby at that time.
My handlebar bag would hold my snacks (granola bars). The top tube bag carried the battery and charging cables as well as a packable bag. My sandals and lock when on the top of my rack and everything else fit nicely in the panniers and the bike still handled fine. Nowhere near as easy to pick up though.
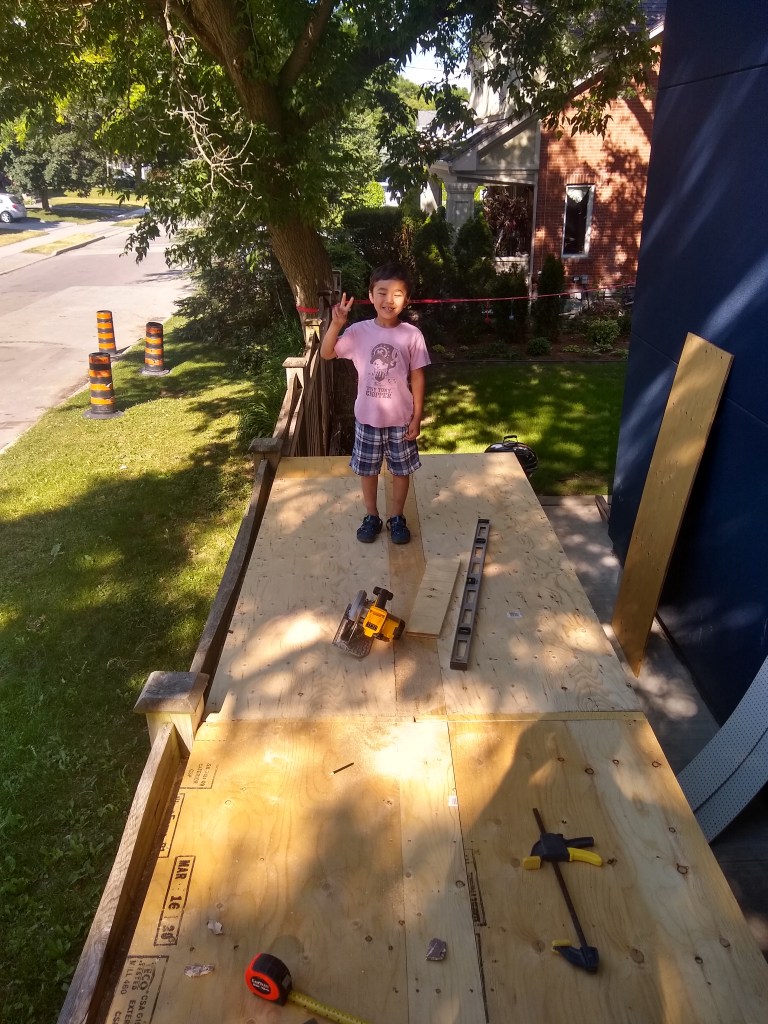
Here’s me with the bike so you can see how it all looks: